If you’re a plant lover and looking for a creative way to display your potted plants, try repurposing an old chandelier. Whether you want to hang it indoors or out on the porch, a plant hanger chandelier adds whimsical charm to a space while giving an old furnishing new life. Here we’ll go over the materials and process for making your own DIY chandelier plant hanger.
What You’ll Need
Chandelier
Terracotta or plastic pots and saucers
Outdoor spray paint
Waterproof glue
Plumber’s epoxy putty
S hook for hanging
Wire cutters
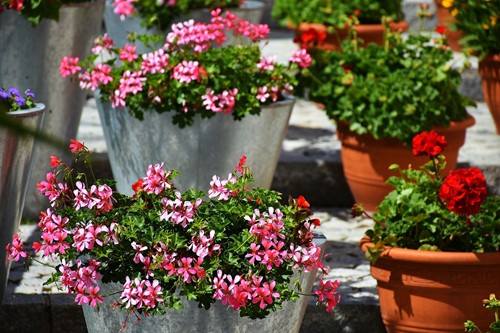
Potting mix
Your choice of plants or flowers
Which Plants?
The plants you choose depend on the aesthetic you’re going for with your chandelier. You can add ivy or other trailing plants to spill over the sides of the pots or you could just add vibrant flowers to add a pop of color. You can also plant more than one in the same pot, but make sure they have the same sun and watering needs to ensure they stay healthy and beautiful.
How to Create Your Chandelier Plant Hanger
First you’ll need to remove any electrical components still attached to the chandelier using your wire cutters. This includes wiring and lightbulb holders.
Add pot saucers to every “arm” of the chandelier. You can attach them using glue and epoxy putty. Let the glue dry for at least an hour.
Once the glue sets, it’s time to add the pots. Attach the pots to the saucers using glue and epoxy putty. Leave the putty in small clumps to create some separation between the pot and the saucer. This will help with drainage.
After the glue dries and the pots are secure, spray paint the whole chandelier. If you’re using the chain that came with the chandelier, don’t forget to paint that as well. You either hang the chandelier to paint or set it on a clean surface like a tarp or cardboard that won’t get damaged by paint.
Wait for the paint to dry completely before moving on. You may notice cracks or other imperfections appear once the paint is dry that you can touch up as needed.
Time to plant! Fill each pot about halfway with potting soil and then place each plant into a pot. Fill in around the edges with additional soil so the plant is secure without packing down the soil too tightly.
Water your plants according to their specific care needs. You can soak the soil completely and allow it to drain out the bottom before hanging.
Hang your chandelier using the S hook or any other pre-existing fixture.
With this project, you’ll have a unique hanging solution for plants that’s a piece of art all on its own. You’ll also be able to enjoy the satisfaction of DIY and repurposing an older unused item. Enjoy hanging your chandelier under a covered porch, from a tree or anywhere indoors you’d like to add some color and whimsy.